Showing posts with label DIY painted furniture. Show all posts

Wednesday, April 29, 2015

Grain Sack Inspired Bench

Hi friends! I'm sharing a fun little project I did on Monday! I love when I have an idea in my head of what I want a project to look like and it goes smoothly and looks even better than I envisioned!

I've been wanting to do a "grain sack" inspired piece for a while now, actually over a year, but I just haven't had the perfect piece for it. But when I got this little bench/storage chest out of storage, it actually belonged to my grandma and when ever we went to her house to play it was always filled with toys and treasures, I knew it would be perfect for this treatment!

It was painted some time ago a white color, and the paint was peeling and looked a little "dingy" but I just went with it and decided not to fix any of its imperfections. I wanted it took look like it was painted decades ago and worn over time.


I took this picture during the middle of the day and the bench sits right in front of our sliding glass door so I was fighting the light with my pictures but you get the idea!

It was a pretty easy and quick project! I used my handy painter's tape, in two different sizes .90 inches and .70 inches. I used two pieces of the .90 inch painters tape side-by-side for my two thick stripes, so they are just under 2 inches wide each.  Then I left a .70" space, by using the thinner painter's tape, between the thick stripe and the thinner stripe which is also .70" thick. Basically I hate measuring so I used the painters tape to help me achieve somewhat straight lines without measuring ;). I painted the stripes and the words in Annie Sloan Chalk Paint Aubosson Blue.


Next I painting on the words which I got from http://thegraphicsfairy.com, this site is amazing! So many free graphics and tutorials! This is the specific graphic I used http://thegraphicsfairy.com/transfer-printable-french-grain-sack-with-wheat-wreath/
I decided not to use the wheat wreath since I didn't have a good small paint brush for doing the detail work that would have been involved. But I still love how it turned out!


In order to transfer the image on to my bench I printed it out first on regular printer paper, and then rubbed the back of the paper using a pastel crayon. Next I taped it on the bench with the pastel against the bench and the image facing outwards. Then I pushed firmly around the edges of the letters with a ball point pen and finally I went in with my paint brush and filled in the lines.

Like I mentioned I didn't have a very good quality small paintbrush so my letters are definitely not perfect. But I just went with it! Sometimes you got to just work with what you've got! When I was all finished I gave the stripes and the letters a light sanding with my sanding block, just to rough it up and give it that timeworn look I was going for.


This bench is in the same area in my house the stripped dresser I just posted about it.


You can read about it here if you missed it. I've got a little navy blue theme going on in here, can you tell?! I'm excited to share this whole little corner of our home with you soon!

Linked up to:http://missmustardseed.com/, http://elizabethandco.blogspot.com/, http://www.stonegableblog.com, http://cityfarmhouse.com/, http://www.thegoldensycamore.com,http://www.findingsilverpennies.com/, http://www.homestoriesatoz.com/,  http://www.craftberrybush.com/

Saturday, April 11, 2015

Raining Day Dresser

I'M BACK! It's been FOREVER since I lasted posted on here! I've missed sharing my life with and my projects with you but taking a break from the blog has given me some new perspective and helped me to reprioritize a few things in my life! It has also reinvigorated my passion for decorating my home and painting furniture, and just being creative for the sake of it instead of feeling pressured to!
God has been teaching me so much through this time too! It has not been an easy few months in my world but He has been teaching me truly what it means to trust in Him and to have hope even when your circumstances do not seem very hopeful! He is teaching me that sometimes you have to go through a storm to see the rainbow at the end! Which brings me to a little project I've been working on...


Here's a "before" picture of the dresser. As you can see it was painted brown by its previous owner and some of the brown was chipping off.

I call it my "raining day dresser", I call it that because I started painting in way back in December on a raining day and then I finished it a few days ago on another raining day. That might not seem very significant to you but here on the central coast of California, we haven't been getting very many raining days!


As I was finishing the dresser the other day I began to think about how the rain and storms signify troubling times in our life but it was because of the rain I was able to spend time creating something I find beautiful! God does this too in our lives if we let Him. He will use the storms and hard times to create something beautiful in us!
This is the promise God has for us when we go through suffering, Romans 5:3-4 we[c] also glory in our sufferings, because we know that suffering produces perseverance; 4 perseverance, character; and character, hope.


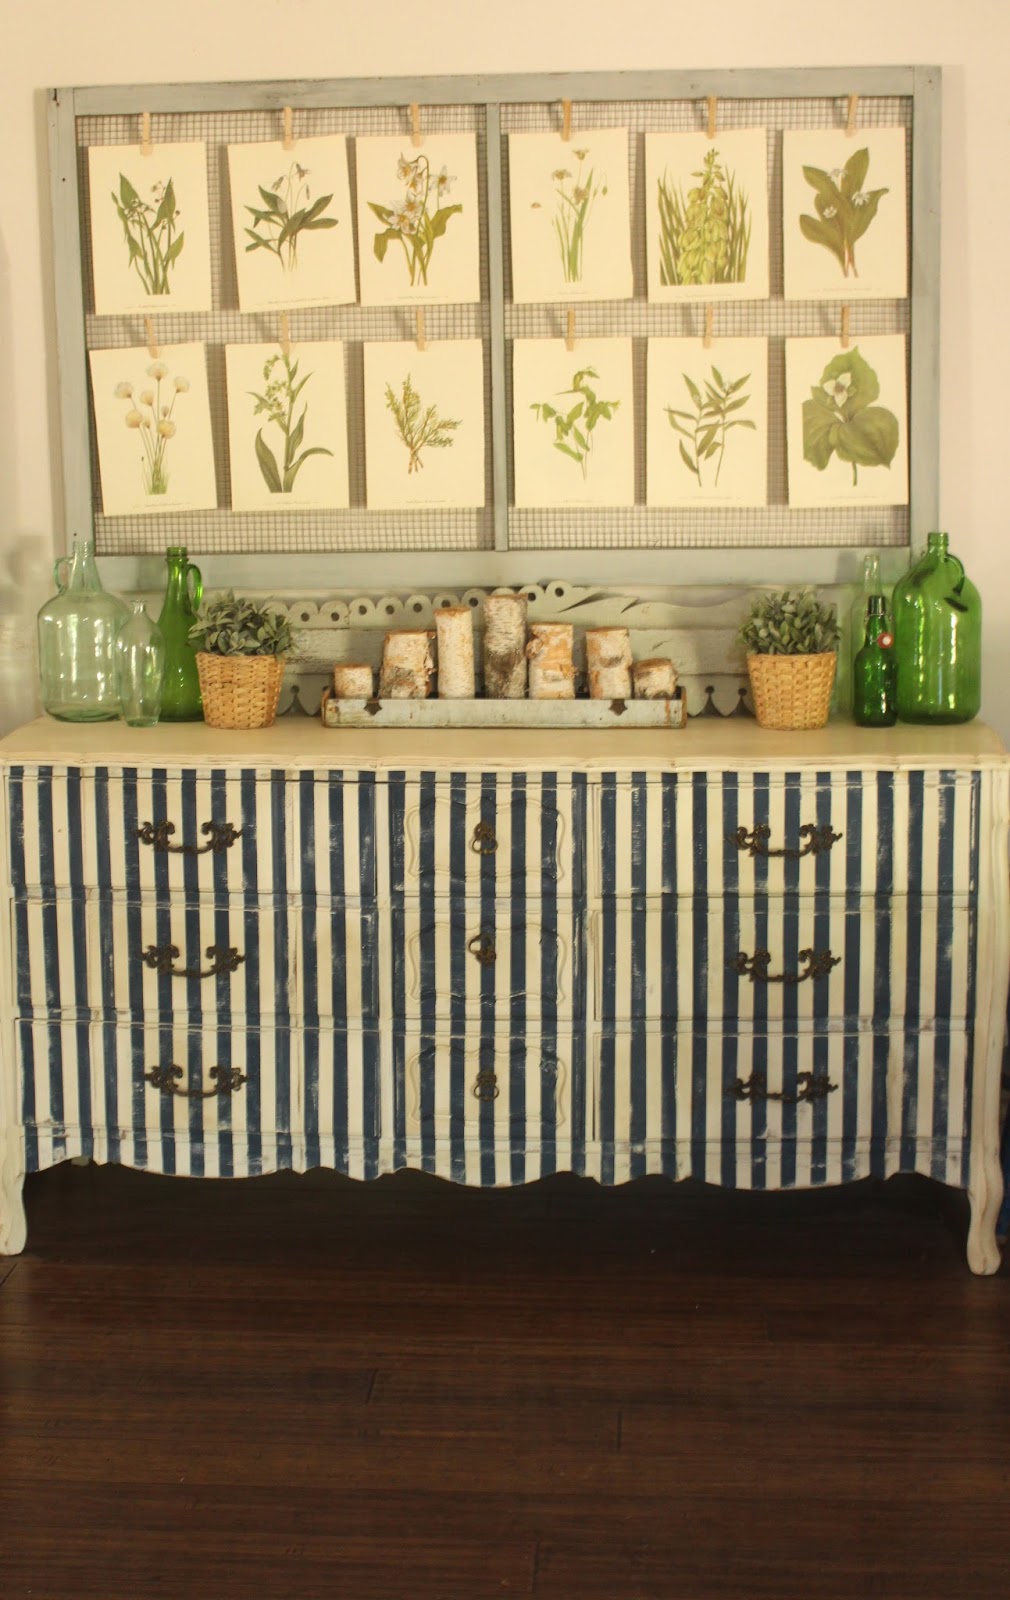
Here's a quick overview of how I painted my "raining day dresser". I started by painting the entire dresser Old White Annie Sloan Chalk Paint. It took several coats to get good coverage, as is usually the case when painting a piece white.


Next I used painter's tape to tape off vertical lines on the front of the dresser and next I carefully painting the stripes a navy blue color (it was some left over latex paint I had from when I painted my laundry room). Next I sanded the stripes, first with my electric hand sander and next by hand, to give it a worn look. I also sanded and distressed around all the edges of the dresser.


I waxed it first with Annie Sloan Clear Wax and then I used Annie Sloan Dark Wax (mixed with some paint thinner to give it a thinner consistency). Finally I buffed the piece with a soft cloth.I'm excited to be sharing with you again here on the blog! Soon I will be showing how I put together this fun wall art that's hanging above my dresser, so stay tuned for more!


Linked up to:http://missmustardseed.com/, http://elizabethandco.blogspot.com/, http://www.stonegableblog.com, http://cityfarmhouse.com/, http://www.thegoldensycamore.com,http://www.findingsilverpennies.com/, http://www.homestoriesatoz.com/,  http://www.craftberrybush.com/


Tuesday, September 16, 2014

Taking a Risk (Frozen Inspired Cabinet)

If you know me at all you know I am not a risk taker, I hate roller coaster and flying in airplanes. Pretty much anything in my mind that involves any inherited risk, just does not sound like a good time to me.
The one area I feel like I can take risks in is in my painting, I think that's why I enjoy it so much! What's the worst thing that can happen?! If it doesn't turn out like I expected or hoped I can just sand it and start over!
I took a risk with this cabinet! What do you think?!


I've always adored hand painted furniture, especially scandinavian style. This is my first attempt at it! I was inspired by the door in the disney movie Frozen, you know the one Anna knocks on when she's trying to get Elsa to come play. I couldn't help but sing the song, "Do you Wanna Build a Snowman", while I was painting this piece (I know I'm a dork)!


I really like how the cabinet turned out! I know this style isn't for everyone but I love the beautiful chippyness of the paint along with the hand painted design on the cabinet doors.

I love the sides as well so chippy and lovely!


I used Miss Mustard Seed Milk Paint on this cabinet, a custom mix of Linen, Shutter Grey, and Luckett's Green, for the main portion of the piece. For the top drawer I just used Linen. For the detailing on the door I used Annie Sloan Chalk Paint in Old White and then I outlined it using a gold colored paint pen I got at Home Depot, its made by Sharpie.

Don't forget to "like" my Facebook page a Giveaway will be happening soon! Trust me you don't want to miss out!
Linked up to:http://missmustardseed.com/, http://elizabethandco.blogspot.com/, http://www.lizmarieblog.com, http://www.stonegableblog.com, http://cityfarmhouse.com/, http://www.thegoldensycamore.com, http://www.findingsilverpennies.com/, http://www.thegirlcreative.com/


Tuesday, September 2, 2014

Creating a Coastal Cottage Accent Table

If you've been following my blog for awhile you may have noticed I've been doing a lot of custom pieces for clients lately! It has been awesome! But with the start of the school year my custom jobs have slowed down. So I got to do one of my favorite things the other day...

Paint a little table however I want! It was amazing creative therapy for me and it reminded me of why I really love painting furniture. I experimented and just let the process flow and this is the outcome!


A friend asked me once why I don't just paint pieces in white, they would sell easier that way. She's probably right and I like a sweet white painted piece of furniture just as much as the next girl. But what's the fun in that?!


I chose to paint this piece with Miss Mustard Seed Milk Paint Shutter Grey, it's a light gray color with blue undertones.

Almost immediately after painting the first coat, before it even dried completely, I dry brushed a coat of white on top. In some places my dry brush strokes actually took off the first coat of Shutter grey and the wood peaked through. This is what it looked like after I added the dry brushing...
I'm loving the amazing texture and chippiness of this piece!

Next I added dark wax to my crazy color concoction! And I took a step back to look at my work. While I really liked it, it was just a bit too crazy. So I added a thin coat of shutter grey on top of the dark wax, ahhhh much better!

I'm so in love with this color! I wish I could keep this piece, but sadly I have no space for it. If you interested in purchasing it I list the pieces I'm selling on my Facebook page so stop by and "like" the Painted Willows on Facebook!

This project was exactly what I needed to get my creative juices flowing! Are you working on any creative projects?!

Linked up to:http://missmustardseed.com/, http://elizabethandco.blogspot.com/, http://www.lizmarieblog.com, http://www.stonegableblog.com, http://cityfarmhouse.com/, http://www.thegoldensycamore.com,  http://www.findingsilverpennies.com/, http://www.thegirlcreative.com/

Tuesday, August 26, 2014

Milk Paint "work in progress" Dresser


I typically don't share furniture makeovers that aren't finished but this piece is different, I need your help with this one...


With almost every furniture makeover, I hit a point were there are problems, the process doesn't ever go perfectly. Which makes the end result so rewarding! You feel as though you've conquered, I know it's sounds a bit dramatic but sometimes painting furniture feels like a battle of wills. In this case it was me verses an antique dresser and my weapon of choice, Miss Mustard Seed Milk Paint!

I did it! I finally painted a piece of furniture with milk paint! I got a little practice first on a couple small projects I posted about previously...
The flag sign I posted about here. And...

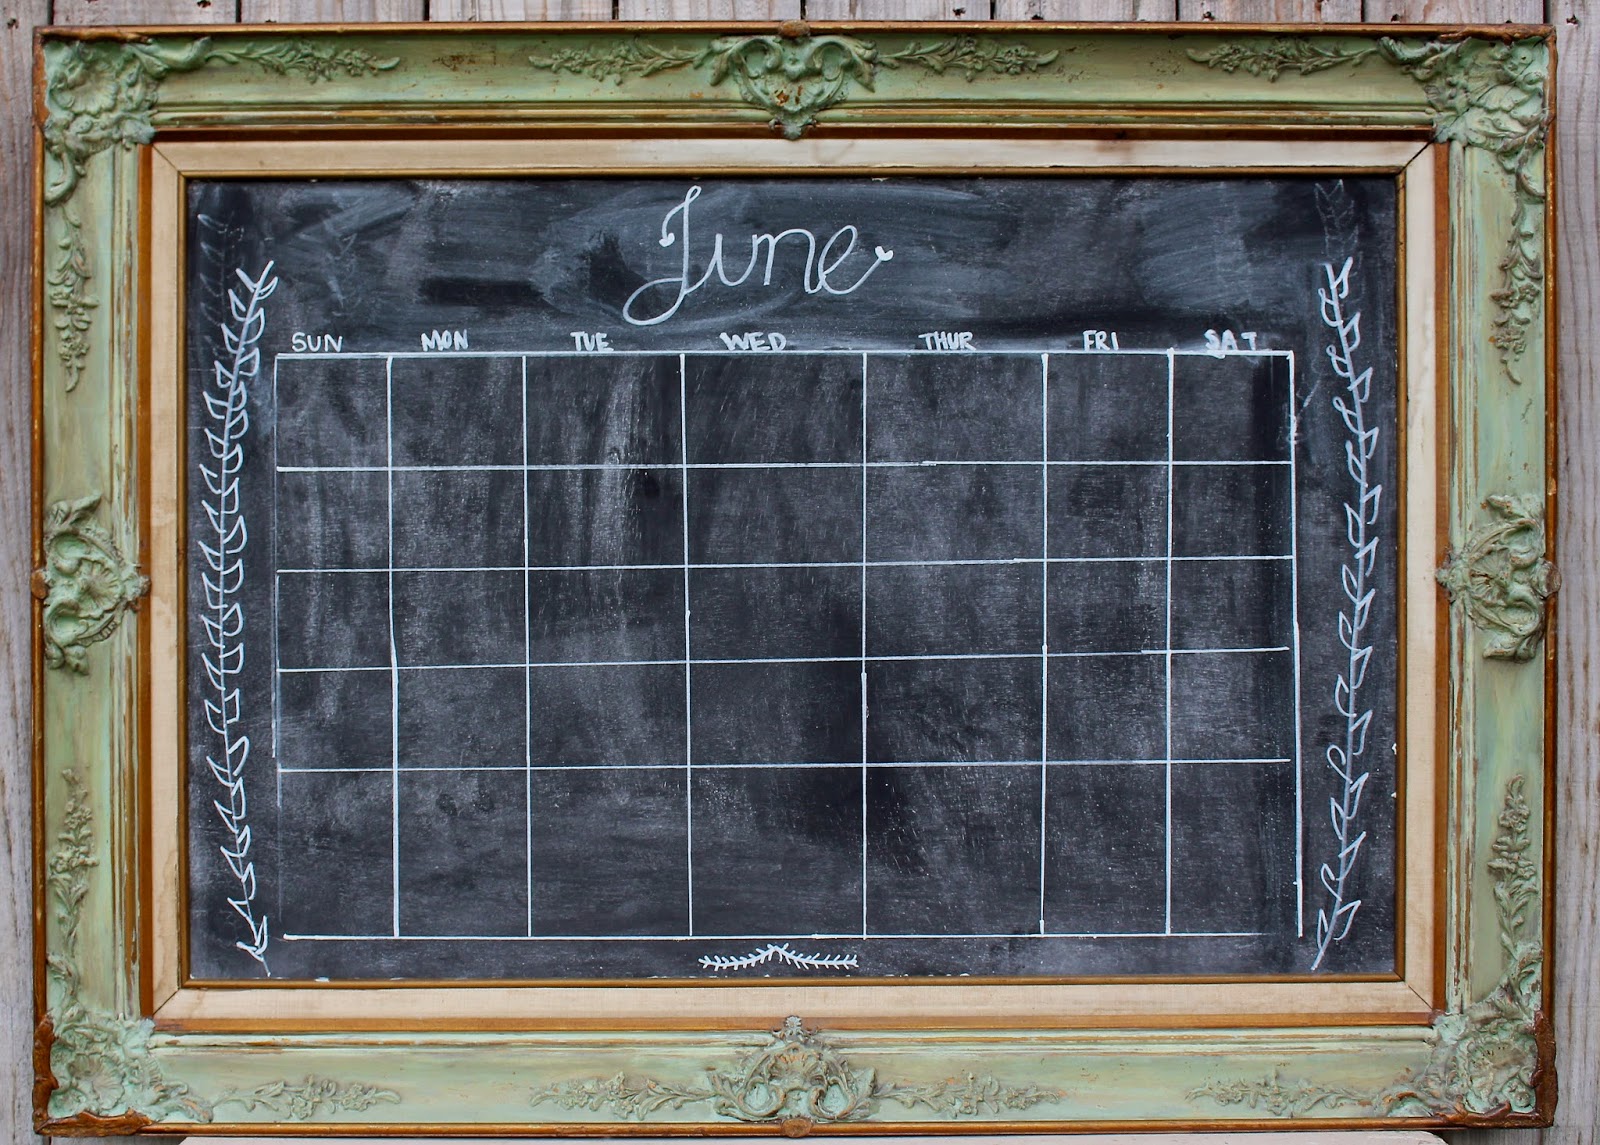
My chippy chalkboard calendar I posted about here.

Here's a picture of the dresser before we went to war...


Not only was this the first piece I painted with Milk Paint it's also the first piece that I bought knowing I would be dealing with a lot of chipping veneer, usually I avoid these pieces.

After some hard work (and a little help from my hubby) I was able to remove all the veneer from the top of the dresser! And then I stained the top. I used a custom mix for the stain on the top but it came out a little to orange for my liking. So I went with a dark walnut stain. I was hoping for a lighter more natural looking top but I'm still happy with the results. I love the combo of a wood top with blue and white!


I mixed up a custom mix of Miss Mustard Seed Milk Paint with Linen, Lucketts Green, and Eulalie's Sky and I used this mixture to paint the body of the dresser. I liked the color but it wasn't exactly what I was hoping for, a bit too green, so I painted over it with a mixture of just Linen and Eulalie's Sky...

Can you see a bit of my first coat peeking through?!

After I applied my second coat I broke out my hair dryer to dry the paint quickly and hopefully get some crackling and chipping since it wasn't happening on its own. That turned out to be a big mistake! Not only did it not give me the results I was hoping for it, the heat actually caused some veneer that wasn't peeling off, to start peeling!

BIG OOPS!

At this point I decided to move on to the drawers. They were painted an off white color with a funky wash on them when I bought the dresser. So I painted over it with with Miss Mustard Seed Milk Paint in Linen. I was hoping for a bit more chippyness on the drawers.

A bit of chipping did happen on the top drawers which I love...

But the middle drawer is another story, the paint peeled but not in a good way!

And and in some places the Milk Paint just wasn't covering the previously painted drawers, despite several coats!

But I do love how most of the dresser turned out!


And I loved using the Milk Paint, it gave me great coverage and such a smooth finish! And since it's not a custom piece, I'm not in any hurry to finish it, I decided to bring it in my house and put it to use (storing some school supplies) while I decide how I will fight the next battle with my opponent :)


Any suggestions?!?! I need your advice!


Linked up to:http://missmustardseed.com/, http://tatertotsandjello.com/, http://elizabethandco.blogspot.com/, http://www.lizmarieblog.com, http://www.stonegableblog.com, http://cityfarmhouse.com/, http://www.thegoldensycamore.com, http://www.joyinourhome.com, http://www.findingsilverpennies.com/, http://www.aglimpseinsideblog.com/, http://www.thegirlcreative.com/


Thursday, July 17, 2014

Grey French Provincial Dresser

I just finished the dresser that is part of a set with these night stands…


Here it is in my garage! It's one heavy piece of furniture! In the past I would just drag it in my house to take pictures, but since we recently installed new flooring I decided it would have to stay in my lovely garage :)


I describe the process I used on this dresser in this post. Here a few shots with my little helpers!


They were having fun balancing things on their heads! And here are a few more shots of the dresser…


That's it for now! I'm excited to share with you something I've been working on for my own home! Like me on Facebook or find me on bloglovin so you don't miss a post! And thanks for stopping by!

Linked up to:http://missmustardseed.com/, http://tatertotsandjello.com/, http://elizabethandco.blogspot.com/, http://www.lizmarieblog.com,  http://www.stonegableblog.com, http://cityfarmhouse.com/, http://www.thegoldensycamore.com, http://www.joyinourhome.com