I just finished a dresser I've been working on for awhile and I'm so happy with how it turned out! Here's what it looked like before...
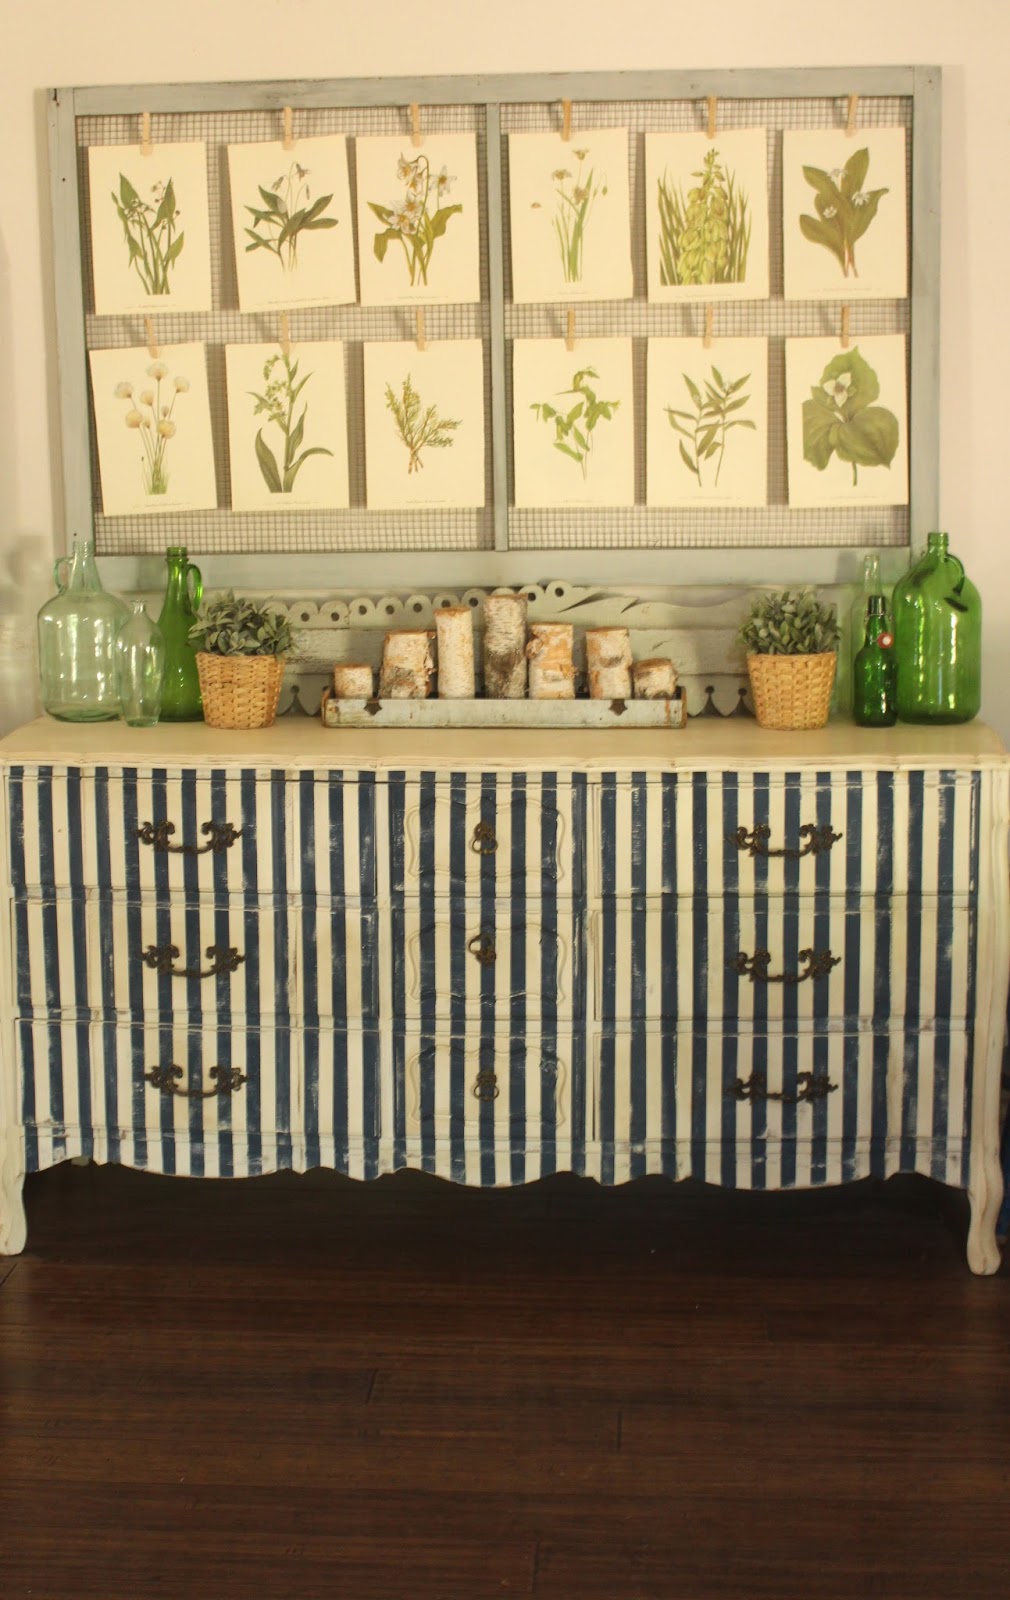
I've been wanting to paint a dresser like this one for years! I love the curves and feminine look of this dresser, as well as the recessed details. I've seen a few on Craigslist but they are always so expensive. So when a friend of mine approached me about painting a dresser for her and she showed me a picture of this French Provincial number, I jumped at the opportunity! There's only one problem... I have to give it back to her! Seriously though, I don't want to! Here's how it looks now…
Unfortunately, I had trouble getting any good shots of this dresser, the lighting was not cooperating with me! But you get the idea.

It was so fun painting this piece! When I met with my friend about what she wanted to do with the dresser she said, "let's paint it the color of your wall in your kitchen!" I was so excited! The color is from Behr it's called Spearmint Stick. It's a blue-green color that I love! In some lighting its more blue in other lighting its more green and sometimes it just looks white. Here's the wall in my kitchen…
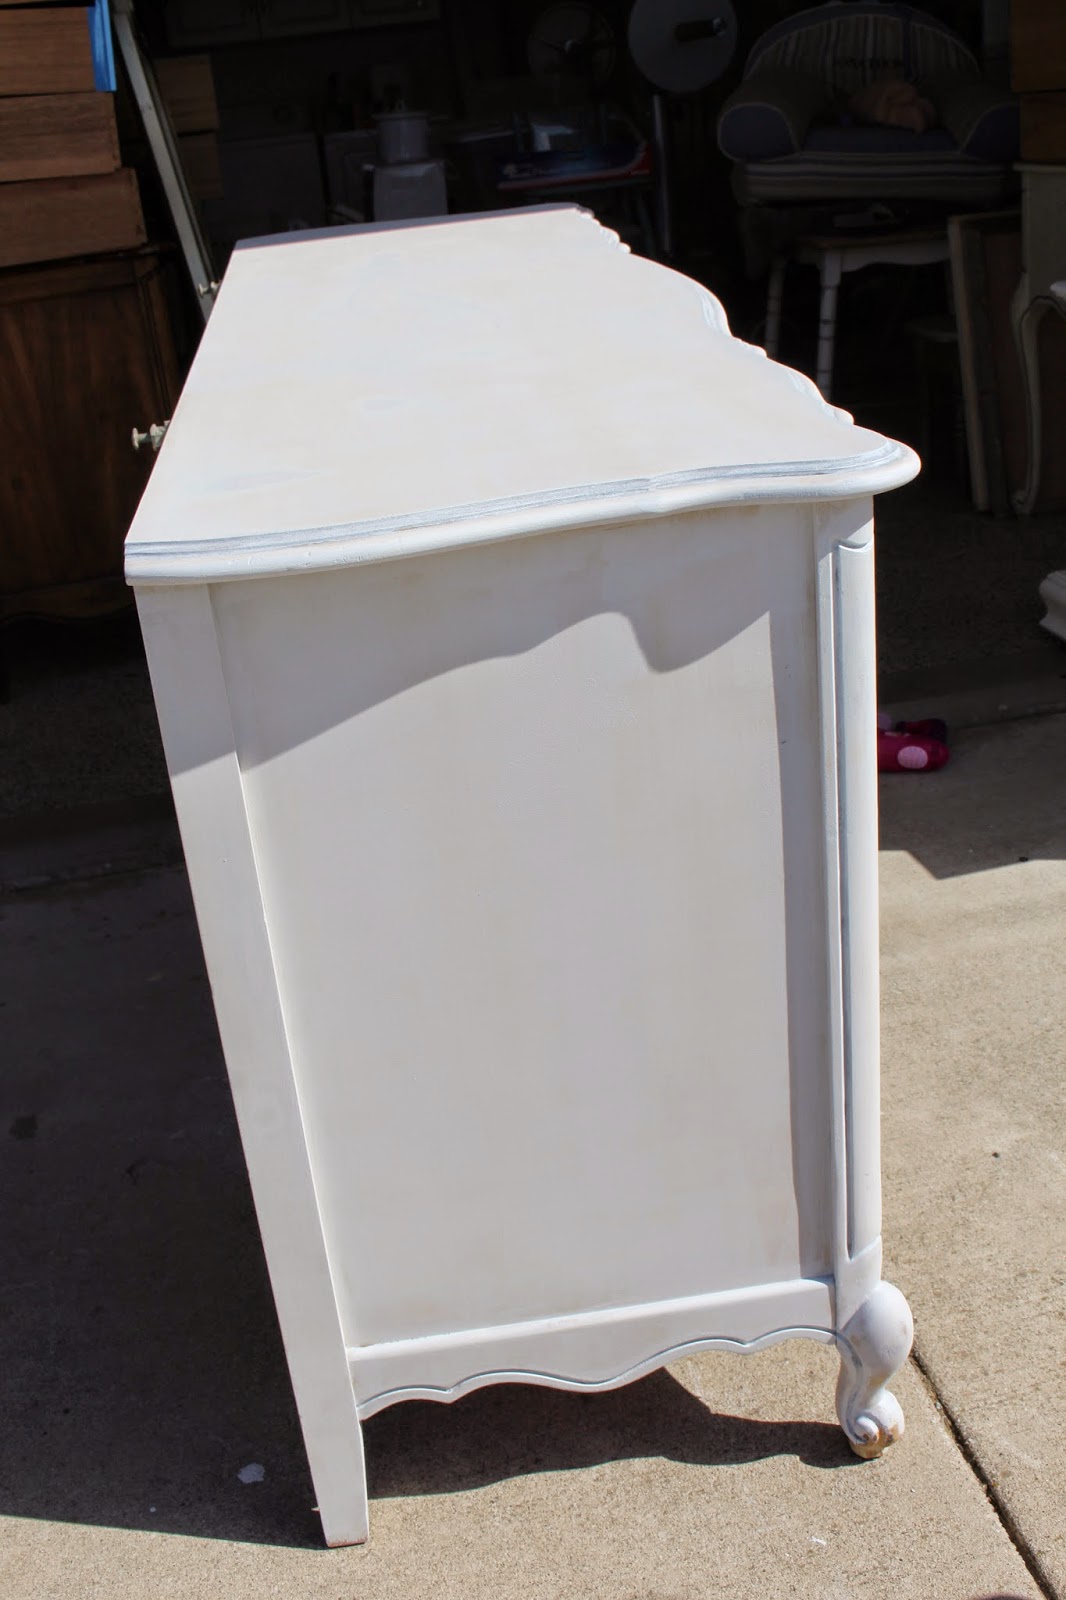
Here's a quick overview of what I did to this piece. To begin I sanded down the entire piece with my electric sander. I spent quite a bit of time getting rid of residue left from what looked like packaging tape (but it could've just been stickers) on each of the nine drawers!!! I used Goo Be Gone and a lot of elbow grease! I didn't sand down to raw wood but I did sand quite a bit to get rid of the glossy texture that was on the piece originally. Next I primed the dresser with an oil based white stain blocking primer. I don't usually prime with oil based paint. But this dresser had a very shiny texture to it originally (similar to laminate) and I wanted to make sure the paint would stick.
Here's the primer I used along with my secret weapon (baby wipes!) whenever I paint I always have them near by. They are a perfect way to clean up occasional drips and here's after I was done priming…
Next comes the fun part! I painted two coats of my Spearmint Stick. I used a combination of a roller and a brush on this piece since I knew I wanted some texture to work with. I painted all the recessed areas of the dresser in a cream color. After painting, I distressed it using a combination of my electric sander and sand paper. After distressing, I coated the entire piece in Annie Sloane Clear Wax and then I began to experiment a bit. I was hesitant to use dark wax on this piece since it's such a light color and I didn't want to darken it too much; instead I tried something new! I mixed a custom stain (basically 4 parts grey stain to1 part walnut stain) and then I mixed in some mineral spirits to thin it out a bit. Next I rubbed on my mixture with a cloth and then rubbed in off fairly quickly with a clean cloth.

I'm really happy with the results of my experimenting. I felt like this technique was a bit easier to control than when I use dark wax and it gave me the subtle results I was looking for. I will definitely be using this technique again! I sealed this piece one more time with my clear wax to add even more durability.
That's all for now, I have another French Provincial Dresser waiting for me along with a few other pieces! Thanks for stopping by!



 Posted with Blogsy