Tuesday, August 26, 2014

Milk Paint "work in progress" Dresser


I typically don't share furniture makeovers that aren't finished but this piece is different, I need your help with this one...


With almost every furniture makeover, I hit a point were there are problems, the process doesn't ever go perfectly. Which makes the end result so rewarding! You feel as though you've conquered, I know it's sounds a bit dramatic but sometimes painting furniture feels like a battle of wills. In this case it was me verses an antique dresser and my weapon of choice, Miss Mustard Seed Milk Paint!

I did it! I finally painted a piece of furniture with milk paint! I got a little practice first on a couple small projects I posted about previously...
The flag sign I posted about here. And...

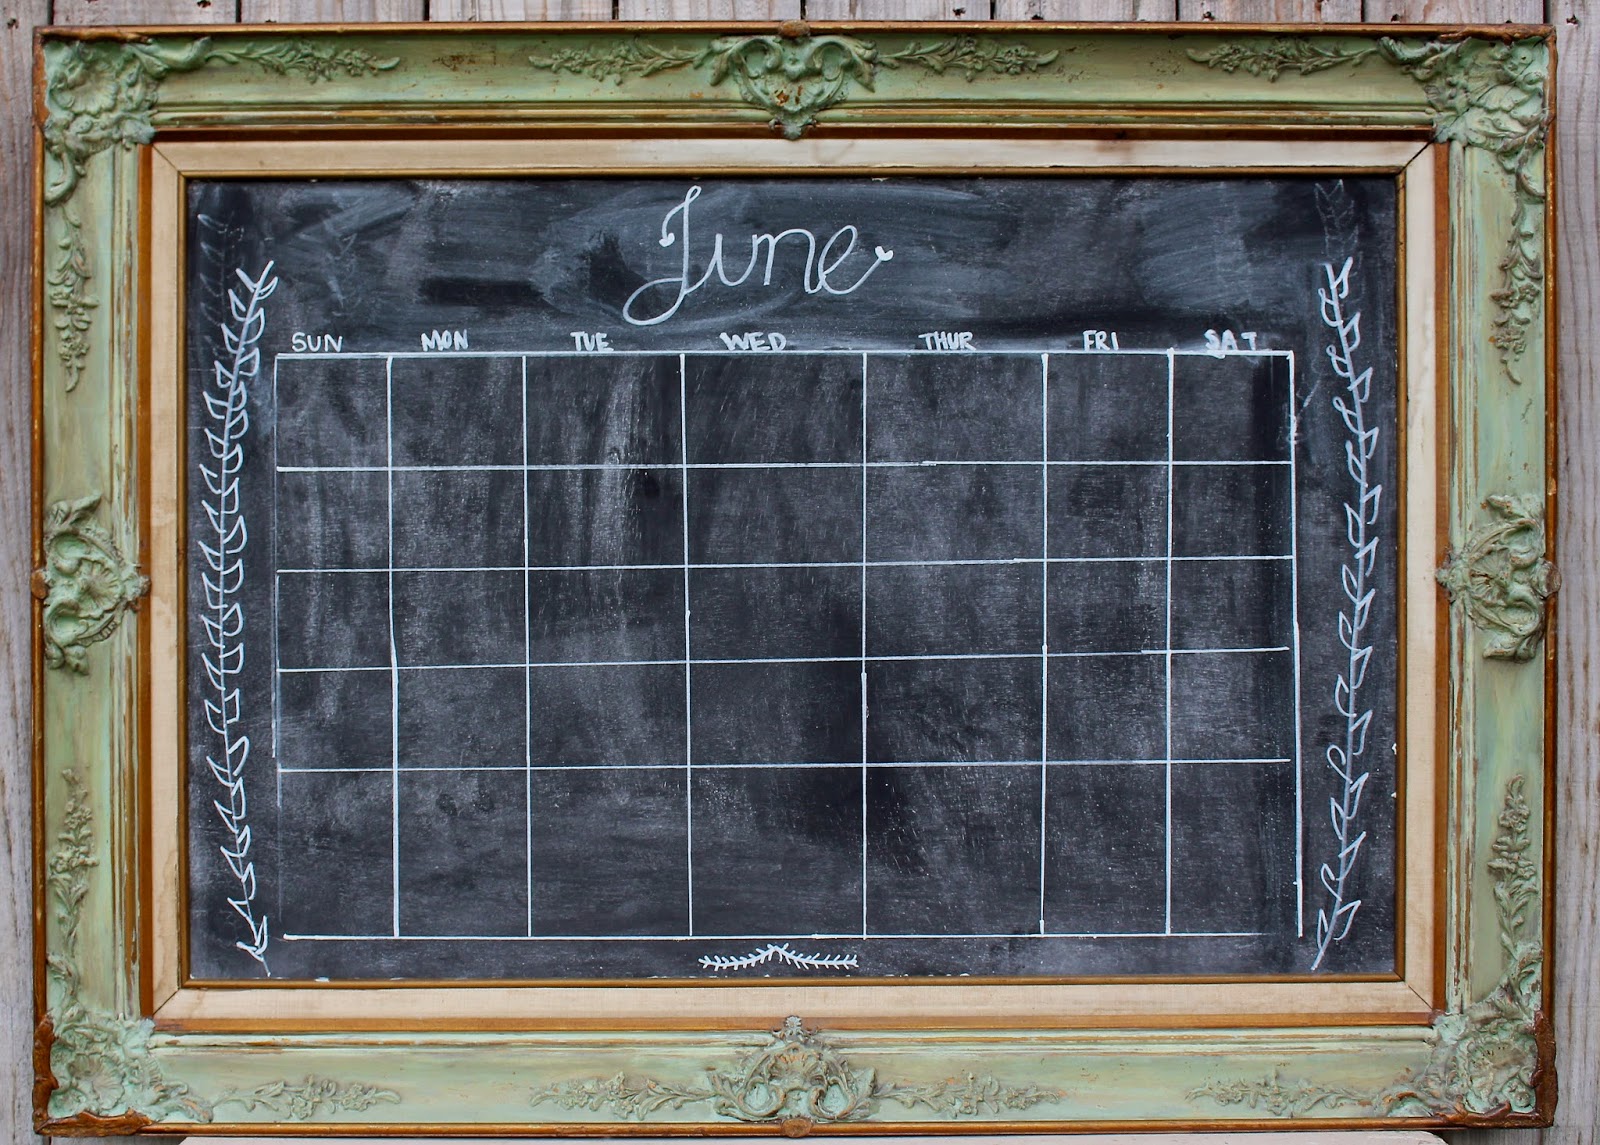
My chippy chalkboard calendar I posted about here.

Here's a picture of the dresser before we went to war...


Not only was this the first piece I painted with Milk Paint it's also the first piece that I bought knowing I would be dealing with a lot of chipping veneer, usually I avoid these pieces.

After some hard work (and a little help from my hubby) I was able to remove all the veneer from the top of the dresser! And then I stained the top. I used a custom mix for the stain on the top but it came out a little to orange for my liking. So I went with a dark walnut stain. I was hoping for a lighter more natural looking top but I'm still happy with the results. I love the combo of a wood top with blue and white!


I mixed up a custom mix of Miss Mustard Seed Milk Paint with Linen, Lucketts Green, and Eulalie's Sky and I used this mixture to paint the body of the dresser. I liked the color but it wasn't exactly what I was hoping for, a bit too green, so I painted over it with a mixture of just Linen and Eulalie's Sky...

Can you see a bit of my first coat peeking through?!

After I applied my second coat I broke out my hair dryer to dry the paint quickly and hopefully get some crackling and chipping since it wasn't happening on its own. That turned out to be a big mistake! Not only did it not give me the results I was hoping for it, the heat actually caused some veneer that wasn't peeling off, to start peeling!

BIG OOPS!

At this point I decided to move on to the drawers. They were painted an off white color with a funky wash on them when I bought the dresser. So I painted over it with with Miss Mustard Seed Milk Paint in Linen. I was hoping for a bit more chippyness on the drawers.

A bit of chipping did happen on the top drawers which I love...

But the middle drawer is another story, the paint peeled but not in a good way!

And and in some places the Milk Paint just wasn't covering the previously painted drawers, despite several coats!

But I do love how most of the dresser turned out!


And I loved using the Milk Paint, it gave me great coverage and such a smooth finish! And since it's not a custom piece, I'm not in any hurry to finish it, I decided to bring it in my house and put it to use (storing some school supplies) while I decide how I will fight the next battle with my opponent :)


Any suggestions?!?! I need your advice!


Linked up to:http://missmustardseed.com/http://tatertotsandjello.com/http://elizabethandco.blogspot.com/http://www.lizmarieblog.comhttp://www.stonegableblog.comhttp://cityfarmhouse.com/http://www.thegoldensycamore.comhttp://www.joyinourhome.com, http://www.findingsilverpennies.com/, http://www.aglimpseinsideblog.com/http://www.thegirlcreative.com/


Friday, August 22, 2014

How I Faked a Plank Wall and DIY Wall Art!

If you've seen any of my furniture makeover posts you've likely seen this wall in my entry way...
I live in a 1300 square foot house, in which open wall space is limited! So this little 6ft long wall as become my "staging" spot for most of my furniture makeovers!

I love my chalkboards, but I didn't want to feel limited to using them all the time in my staging shots. So I took them down and the more I looked at my beige/brownish wall all bare, I knew I was going to be doing some painting!

I decided to go with white! I don't have any walls in my home that are white! And I felt it would really lightened things up in this little corner/ entryway. So I painted the wall white...

I've been drooling over plank walls for while now.

But since we are currently looking for a new home I didn't want to do the work (or spend the money) on the real deal plank walls.

So I started to brainstorm how I could get the look of plank walls without too much work or commitment. I found this post about using molding strips for stripes on a wall. And I decided this would be the route I would go for my wall.

So here's my wall now!

What do you think?!


I painted my wall white and then repainted a bit warmer off white color. It looks almost cream or yellow in the pictures though which is not what I was going for. I may be repainted again soon! Then I nailed on strips of wood I found in the molding and trim section in Home Depot (the trim was called "screen molding"). Next I used spackle to fill the nail holes and I painted the wood strips the same color as my wall.

I'm still not 100% sure about the wall, I think I'm going to have to live with it for awhile, but for now I'm enjoying the change.
I'm loving the new wall art that I made though! I was inspired by a old number sign I found last year at an antique fair. I've always regretted not buying it so it made my own (well actually I made three of my own!) I believe my inspirational sign was actually used at an old baseball stadium in scoreboard. My signs mark the date of my wedding anniversary April 21st.
Want to find out how I made these DIY wall art?! Stay tuned I'll be posting a tutorial soon! Don't forget to subscribe to The Painted Willows so you don't miss a post! Have a lovely day!


Monday, August 11, 2014

Antique Writing Desk Gets a Fresh New Look

I bought an antique writing desk awhile back, it was part of a furniture lot that I bought. I got the desk, a dresser, and a bed!

A friend of mine asked me a few weeks ago if I had any desks, and I showed her this...

It was exactly what she needed, something small that she could keep closed while not in use; to hide the clutter away!

We met and came up with a plan for the desk. My friend wanted to match it to a piece of wall art she plans on having in the room with the desk. The wall art is a cream color with dark wax so that is what I did with the desk...


I painted it with Annie Sloan Chalk Paint in the color cream. I lightly distressed it around the edges and I waxed it with clear wax, followed my Miss Mustard Seed Antiquing Wax.

This was my first time using Miss Mustard Seed's Antiquing Wax, I really loved it! I felt like it was easier to control than other antiquing waxes I've used in the past. I loved the texture this piece had and the wax really brought out the texture.
I painted the inside on this piece, it really freshened it up! But I left the two wood drawers. I love the bit of wood still showing...
 

And I even painted the sides of the drawers on this piece!


If you've "liked" my Facebook page you may have seen a post about my entry way wall that I was painting. This is the wall pictured! It's finished I will be posting the details soon on how I got the plank wall look with a fraction of the cost and work!
 
 
And I couldn't help but get a shot with my growth chart showing in the corner! I just got a new lens on my camera and I'm having so much fun taking shots and experimenting with it! I've got a lot to learn in the photography department but the new lens is sure helping!

Thanks for stopping by!

Linked up to:http://missmustardseed.com/, http://tatertotsandjello.com/, http://elizabethandco.blogspot.com/, http://www.lizmarieblog.com, http://www.stonegableblog.com, http://cityfarmhouse.com/, http://www.thegoldensycamore.com, http://www.joyinourhome.com, http://www.findingsilverpennies.com/


Sunday, August 3, 2014

A kids table finds its way home!

I did a fun project yesterday, I cleaned up a piece of furniture that is so special to me.  A sweet little kids table that I used to sit at when I visited my grandma's house (I called my grandma "mama")...


This little table was where I remember coloring and creating little art masterpieces! It's where my little brothers would sit and eat their peanut butter sandwiches. It's a little wobbly and it squeaks a bit if you lean on it just right. But it is a little piece of my childhood and I just adore it.


After my Mama passed away I brought the table home. I thought I would use it for my own kids but they were just to little for it and it was taking up precious space in my kitchen so it got moved to the garage. It became a little work table for me and got covered in paint and stain.

And then a few days ago I was talking with my mom about how she wants to create a space in her home for my kids to play. And I instantly thought of Mama's kids table. It belongs at my moms house so my kids can play and eat at it at their grandma's house!


So yesterday I sanded and restained the top, I got rid of the paint and stain splatters that it got in the few years it lived in the garage. I painted the base white a few years ago when I brought it home from mama's house.  It just makes me smile to think of my kids using it and I can't wait to see it at my moms house where it belongs!

My son who just turned 5, has been asking me all sorts of questions, most of which I don't know the answers to (thank goodness for google and You Tube!) about the earth and how it rotates around the sun. He's been asking me about day and night, about how and why the sun sets and rises. The other day I found this globe at a thrift store for $2, I've been using it to help answer all of his questions and also I just love it because it's beautiful :) I also found an Atlas for another $2! I used the Atlas to make my "Explore" banner.  I felt it was a fitting way to stage the table seeing that much "exploring" will be happening on it shortly!


I also love how the last line on my Moon River sign says, "off to see the world", it fits my little explorer theme! If you love this sign it will be available soon I'm my Etsy shop!