
Wall Art Tutorial (DIY for under $6!)
I'm excited to share a tutorial today on how I made my wall art in my entry way!


I love this project because it easy, quick, inexpensive, and it makes a big impact in my home! I love large pieces of wall art! It has become a problem though, I'm running out of wall space! I also love this project because you can personalize it for your family!
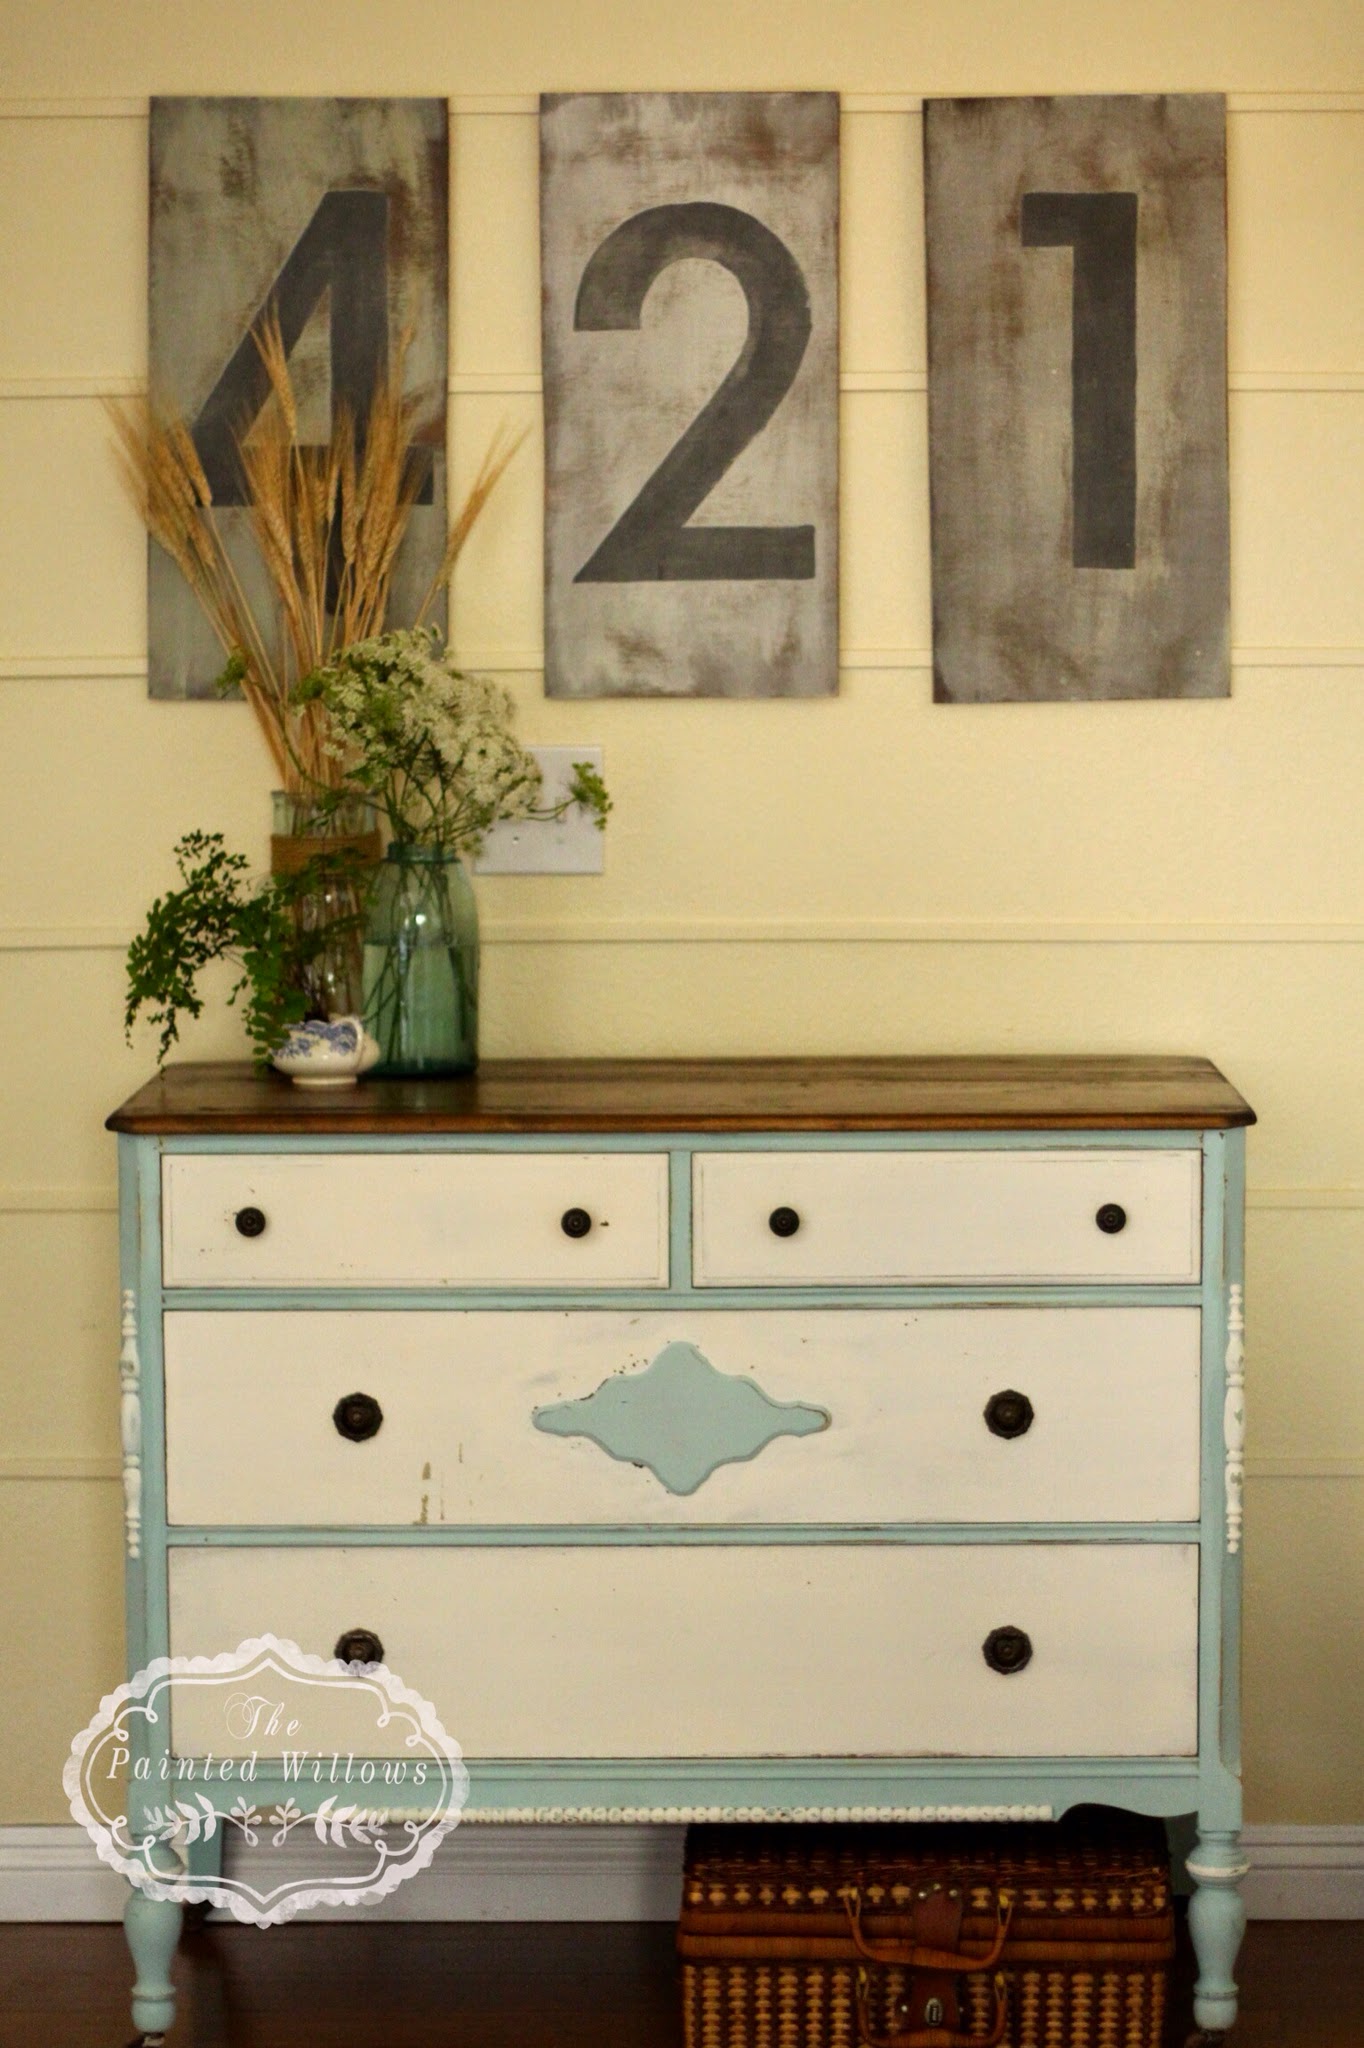
I choose to do my wedding anniversary (April 21st) for my numbers in my wall art, but the possibilities are endless! Today I will show you what I made for a friend's wedding!
 I love how their initials turned out! And I love the fact that they used these on their wedding day and now they can hang them in their home!
I started with a large piece of plywood I got at Home Depot for a little under $6!
I measured and cut the piece into four smaller pieces (2ft x 1ft. each)
 I stained the boards (this is an optional step, I chose to do it since I like a bit of the wood to show through and I'm not fond of the color the plywood sheets come in. I used some stain I already had on hand it's a custom mix of a grey stain and dark walnut. But any stain you have will work, since you don't see much of the stain any way.
 Using paint I had in my stash, I did a white wash technique only with black paint. This particular black paint I used is Annie Sloan Grahite that I mixed with some Annie Sloan Old White, I mixed it forever ago so I'm not sure of the ratios but I love using it because softens the black into almost a dark charcoal color. It makes it look like it has faded over time which is a look I love!
 For my "black wash" I added equal parts water to paint and brushed it on my pieces of plywood in quick long strokes. I wiped away the paint after brushing it with a rag. I wasn't worried about getting good coverage because I wanted it to look like the paint has worn away over time. I purposefully let some of the stain show through. Here's how it looked after one coat:

And here's after two coats:
 The next step is adding the numbers or in this case letters for your art! This is the fun part and really you could do so many different things! You could use the numbers in your address, your wedding anniversary, your child's birthday (I love this idea for art in a nursery), spell a word since you have enough from one sheet of plywood to make four pieces you could spell a 4 letter word or a 3 letter word (Ex; FALL, LOVE, JOY, etc.) Some many possibilities!
For the ones I'm showing you today I used my friends initials her name is Michelle so I used an "M" and her fiancé's name starts with a J so I did an M & J.
I used my Silhouette Cameo to cut letters out of card stock and then I used the card stock as a stencil. For the &; I traced the symbol since that was easier than using the negative space from the card stock. Then I used Annie Sloan Old White (since I had it on hand) and a small angled watercolor brush to paint the letters by hand.

 Finally I sanded down the signs a bit using my orbital sander and fine grit sandpaper (120) to rough them up a bit and soften the edges of the letters.
All in all it took me about 30 minutes to do and I love how they turned out! The signs are also pretty lightweight which makes them easy to hang (I just used some command strips)!
I hope you enjoyed my tutorial! I would love to hear if you have any other ideas for how you could personalize these signs!

My sweet blogging friend Sharon from Elizabeth&Co has invited my to join the Tour Through Blog Land! Check out her post here. I can't wait to share with you a bit more about myself, why I started my blog and some more exciting news!
Linked up to:http://missmustardseed.com/, http://elizabethandco.blogspot.com/, http://www.lizmarieblog.com, http://www.stonegableblog.com, http://cityfarmhouse.com/, http://www.thegoldensycamore.com,http://www.findingsilverpennies.com/, http://www.thegirlcreative.com/

 "Pin on Pinterest")


I love this project because it easy, quick, inexpensive, and it makes a big impact in my home! I love large pieces of wall art! It has become a problem though, I'm running out of wall space! I also love this project because you can personalize it for your family!
I choose to do my wedding anniversary (April 21st) for my numbers in my wall art, but the possibilities are endless! Today I will show you what I made for a friend's wedding!

I started with a large piece of plywood I got at Home Depot for a little under $6!
I measured and cut the piece into four smaller pieces (2ft x 1ft. each)


For the ones I'm showing you today I used my friends initials her name is Michelle so I used an "M" and her fiancé's name starts with a J so I did an M & J.
I used my Silhouette Cameo to cut letters out of card stock and then I used the card stock as a stencil. For the &; I traced the symbol since that was easier than using the negative space from the card stock. Then I used Annie Sloan Old White (since I had it on hand) and a small angled watercolor brush to paint the letters by hand.


All in all it took me about 30 minutes to do and I love how they turned out! The signs are also pretty lightweight which makes them easy to hang (I just used some command strips)!
I hope you enjoyed my tutorial! I would love to hear if you have any other ideas for how you could personalize these signs!

Linked up to:http://missmustardseed.com/, http://elizabethandco.blogspot.com/, http://www.lizmarieblog.com, http://www.stonegableblog.com, http://cityfarmhouse.com/, http://www.thegoldensycamore.com,http://www.findingsilverpennies.com/, http://www.thegirlcreative.com/
Burlap Banner Tutorial
I mentioned last week that I'm I've been inspired to make changes to my blog/business. I really have no idea what I'm doing when it comes to blogging! I'm just learning as I go. This is all new to me and I would love any input you have on what you would like to see on my blog and what I should sell in my shop (I do have a few ideas though ;) and I'm so excited to implement them when the time comes!


I'm excited to start a craft portion of my blog to share fun craft ideas and today I'm sharing a burlap banner that I made for a friends bridal shower and wedding! This is the version for the shower. It says "SOON TO BE MR. & MRS"…


And all you have to do is take a few of the banners off and its perfect for wedding decor and even to decorate a master bedroom long after the wedding!

I made these banners easy to take on and off so they would be versatile! I got the idea to make them like this through this tutorial. Here's a quick overview of how I made them:
1. I cut Heat N Bond (the no-sew kind) into 12 X 12 inch squares. You can find Heat N Bond at Walmart.
2. I made the shape for my pennant flag using my Silhouette Cameo software and ran the squares of Heat N Bond through the machine so they were cute in the flag shape you see above in my pictures.
3. Next I ironed my the pennant flag, the one I just cut on my Cameo, on to burlap and cut the burlap to fit the pennant shape. You can get burlap from Walmart for $3 a yard!
4. In order to make it a bit more secure I next ironed my burlap on to white muslim, also found at Walmart, which acts as a backing.
5. To make them easy to take on and off I ironed a crease at the top of my burlap flag.
6. And lastly I stenciled the letters on!
I decided it would be fun to stage my banner in my back yard, as if it were really hanging as decor at a wedding! I imagined my backyard "wedding" would be a sweet vintage inspired garden wedding. I pulled out my favorite console table and hung my banner on it. I used an antique wire basket to hold vintage sheets which I thought my "guests" could use to picnic on. And I pulled out an old chippy box I had to hold antique jars filled with flowers from my garden. My husband was looking at me like I was crazy as I hauled things into my back yard. But that's what us girls have to do sometimes, use our imaginations and just create!
Here are the pictures from the "wedding" :)


I have another furniture makeover for you I will be sharing it shortly! I hope you are finding time to be creative today too!


This comment has been removed by the author.
ReplyDeleteAll crafts are looking good and you made great style. Love to see specially kids chair which look amazing.
ReplyDeleteYou have given correct information to people in this blog. Buy Home Decor Products Online at Make in Modern - Get the Best Home Décor Accessories Online at Great Prices.
ReplyDelete(1)Handprinted Multicolor Decorative Globe Stand.
(2)Walnut & Matte Black Shaded Coffee Table.